TinyG: New G-code commands for OpenPnP use
TinyG is often used for Pick & Place because it comes with the Liteplacer kit. Some features have been added to TinyG to make it more like other controllers and to optimize its use with OpenPnP.
UPDATED: see dates in the sections.
New commands for OpenPnP
This Pull Request implements the common G-code commands M114, M115, M201.3 and M400.
M115: Get Firmware Version and CapabilitiesM400: Wait for current moves to finishM114: Get current positionM201.3: Set the given axis jerk rates, a 3rd order extension of the commonM201, using sub-code.3for third order.
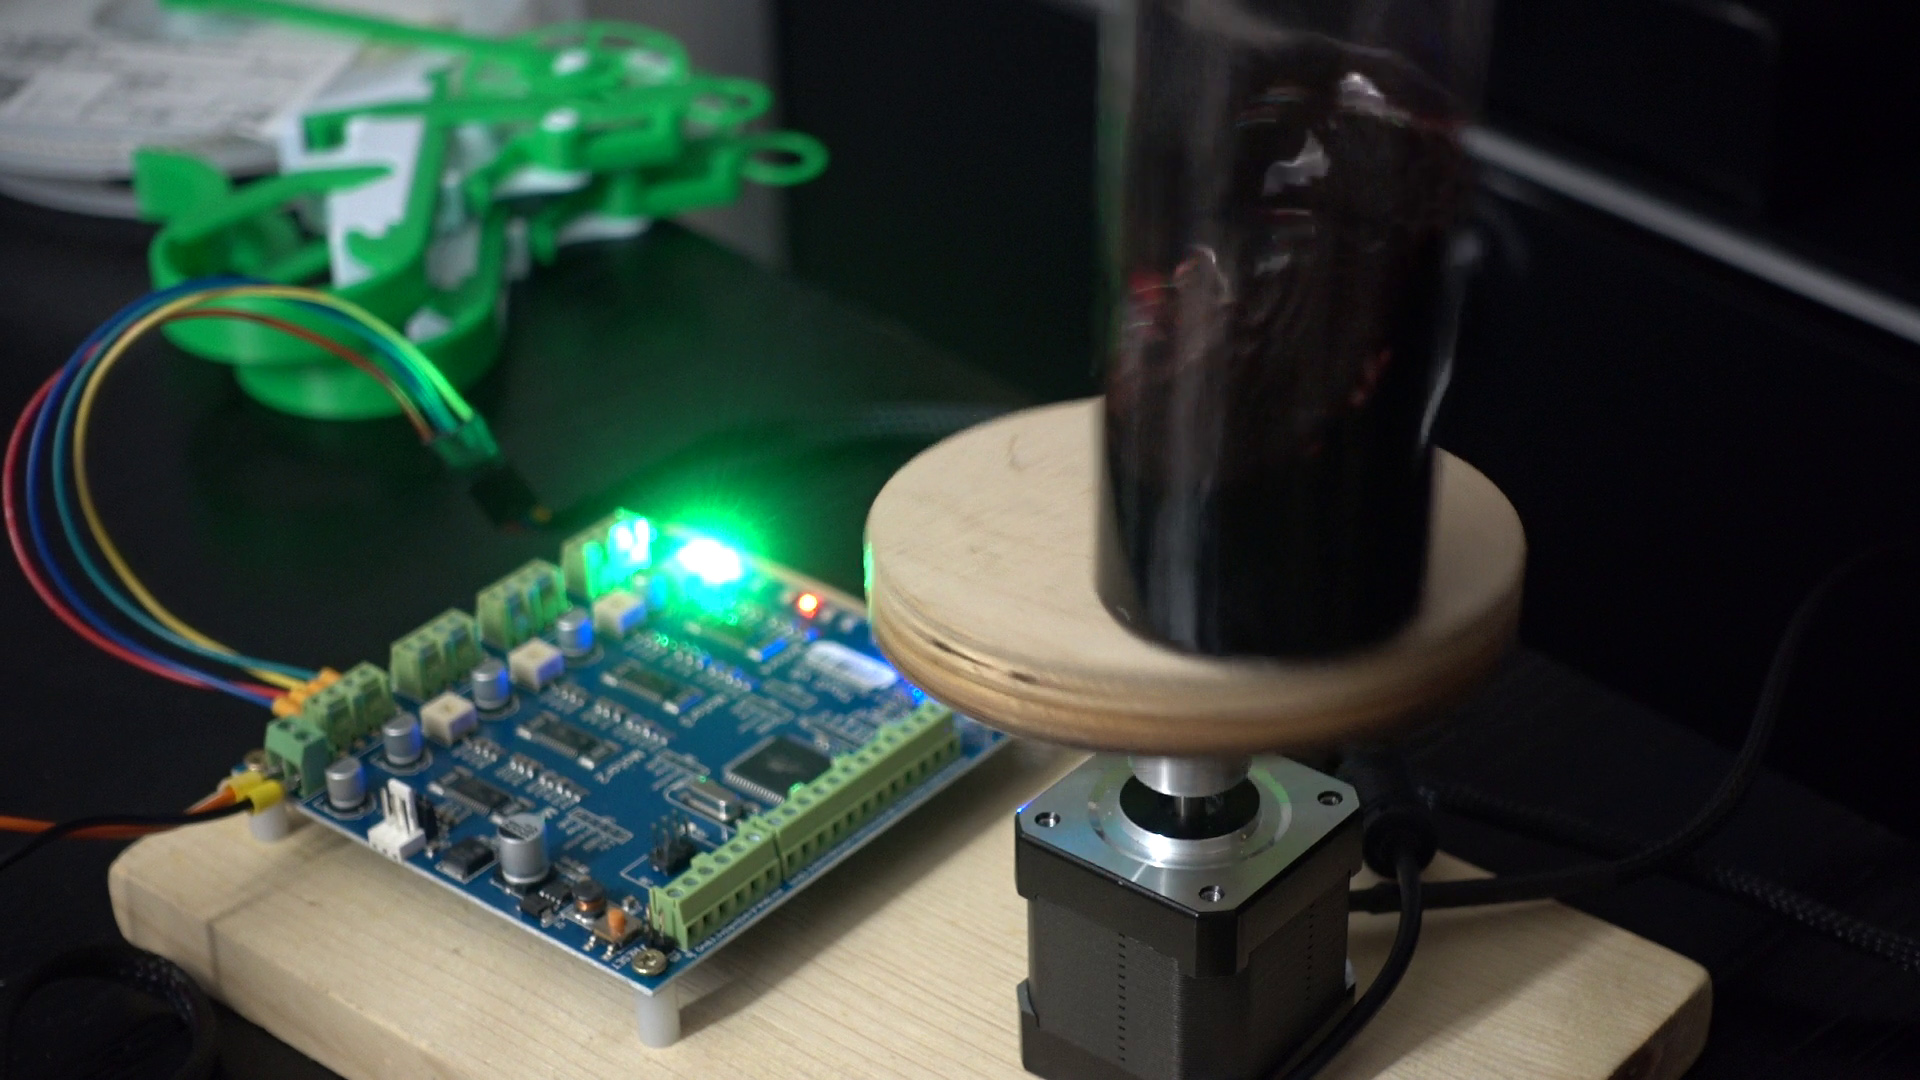
Watch the video about improved speed control:
ADC reading for Vacuum sensing
UPDATE 2021-01-25: Based on the code of thereza of the Liteplacer.com forum I reintegrated a condensed implementation. However, rather than a proprietary json request, I implemented G-code M105 for reading, as most other controllers do. It will return the raw ADC value (12bit, 0 … 4095) in the usual “thermistor” form, for best compatibility.
> M105
ok T:1234
tinyg [mm] ok>
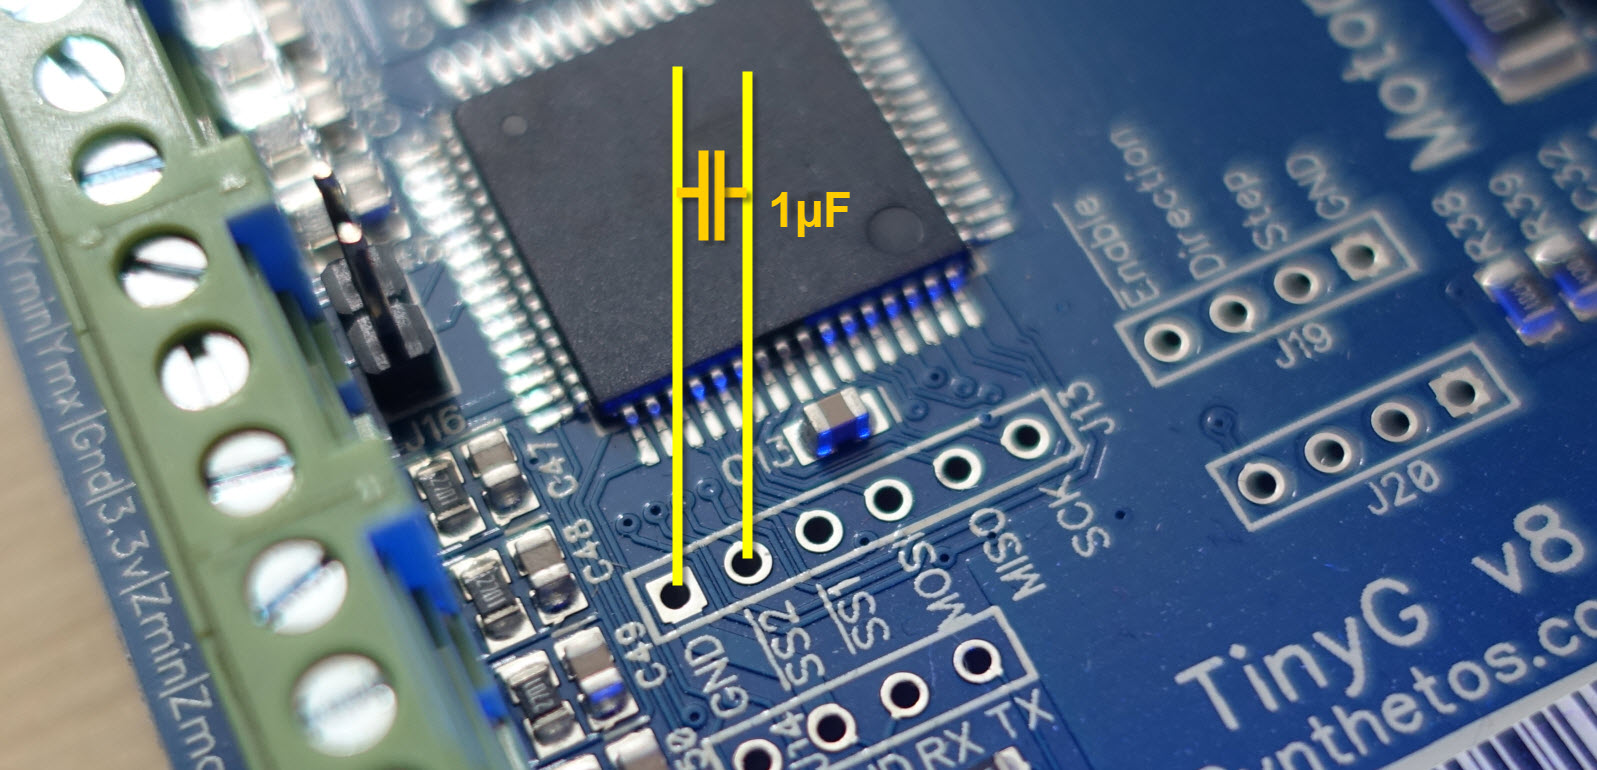
As Thereza proposed, connect the sensor in parallel with a 1µF capacitor to GND and SS2:
Configure the vacuum sensing actuator ACTUATOR_READ_COMMAND as follows:
M105 ; read vacuum level
and the ACTUATOR_READ_REGEX as
.*T:(?<Value>-?\d+).*
For more information about vacuum sensing:
Removed implicit Spindle Control from Z Probing Cycle
UPDATE 2022-04-24: The standard TinyG firmware automatically switches off the spindle, when Z probing is initiated. This was likely a safety feature, but it is not compatible with Pick and Place, where the spindle signal is typically used to drive the vacuum pump (Liteplacer wiring).
In fact, I believe it is generally bad behavior for a firmware to do stuff it was not asked for. It could equally make sense to probe with a running spindle in a CNC machine, for instance for fixed drill depth probing, where a probe would be mounted right next to the drill bit.
More info in the (pseudo) Pull Request.
Flashing the TinyG
There is a simple firmware flashing package available (Windows).
CAUTION: although this has been created with great care, flashing your TinyG and then using the machine is entirely at your own risk. Please read all the steps first. The transition may involve extra work, if your previous firmware was outdated. Do not do this if you need to produce boards by tomorrow.
- Check your OpenPnP driver and note down your TinyG COM port.
- Important: Use the driver Console tab to query the TinyG for its current version and build using the
$fvand$fbcommands. Note them down. - Important: Then use the
$$command to list all the current settings. Copy the output and save as a file. Upgrading from some older TinyG versions, you may lose some settings and need to set them up again using this listing. - Exit OpenPnP.
- Download
– TinyG_Flash.7z (with ADC/M105 support and removed probing spindle control)
– TinyG_Flash_no_ADC.7z (without ADC/M105 support) - Unpack it (you need 7-zip to unpack)
- Enter the directory.
- Open
flash-this-firmware.cmdin your favorite editor.
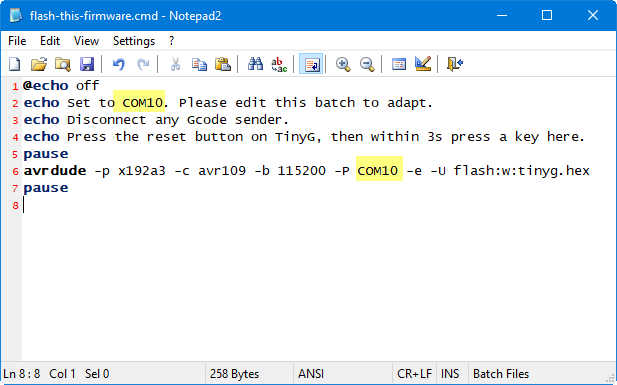
- Replace the two occurrences of COM10 with your serial port from step 1.
- Save.
- Execute the
flash-this-firmware.cmd - Press the reset button on TinyG, then within 3 seconds press a keyboard key.
- Wait until it says “Thank you”.
- In theory, if your previous firmware was already on the newest official stable (master) version 0.97 and build 440.20 (see step 2 above) you should be good with the stored configuration settings. My firmware is based on this version and does not change the EEPROM structure or contents at all. This also (should) mean you could go back to the original firmware, without any problems. However, users reported issued, and it has been confirmed that even inside 440.20 builds, some upgrades corrupt the EEPROM settings. If you have issues, please follow the next point.
- If your previous firmware was older than the newest version 0.97 build 440.20 (see step 2 above), expect your settings to be partially corrupted. You may need to re-enter the configuration settings. Consider using a diff tool to see the changes before/after as @brainstorm has done. Make sure you’ve really saved the
$$output from before the firmware flashing (step 3 above). - Restart OpenPnP.
- Use the Issues & Solutions system to guide you through the needed reconfiguration (see next section, OpenPnP Integration).
- For machines that already worked on older OpenPnP versions, some changes in the connect and homing setup may be required. It is now recommended you delete the HOME_COMMAND if one was already present. Issues & Solutions will propose a better one. it will also point out connection issues (flow-control, etc.) in the CONNECT_COMMAND.
Notes:
If you adapt this Windows batch to other operating systems, please share back :-)
We already have Linux instructions in the comments below, thank you AQEX.
Flashing back the original firmware can be done here. More (recovery) options here.
Credits: this is based on Avrdude taken from an Arduino installation i.e. from Arduino/hardware/tools/avr, bin/ and etc/ subdirectories.
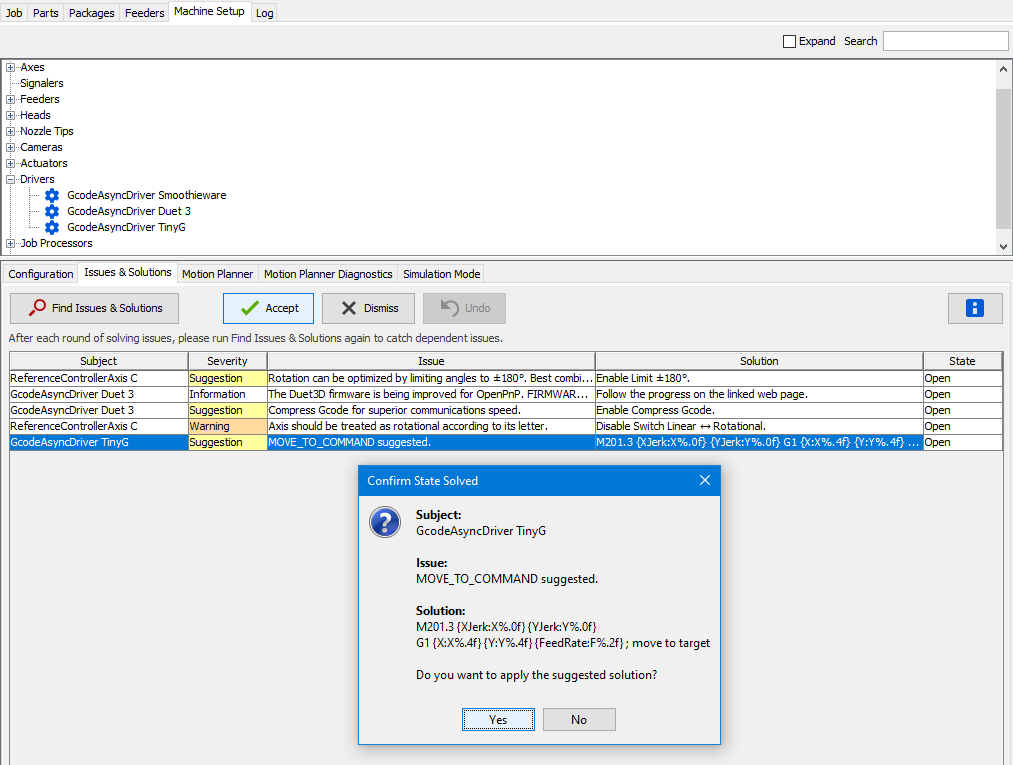
OpenPnP Integration
In parallel, the OpenPnP Issues & Solutions system has been extended to include TinyG auto-setup features, including ready-to-use G-code commands and regular expressions:
- Download the newest OpenPnP 2.0 version or even better the Testing version to use this.
More Information
-
- Get the source code.
- Read the proposed TinyG changes (Pull Request).
- Follow the discussion.
- See the firmware Wiki.
Leave a Reply